When recording voice overs in a non-professional studio, you’re bound to run into unwanted background noises, and other pesky sounds that your microphone picks up. What is the solution? Make your own sound booth.
If you want to clean up your audio and make better voice overs for your eLearning projects than keep reading. Best of all, if you’re on a budget you can build a vocal sound booth for under $60. I created a box for our company, and it works great. Here is what you'll need:
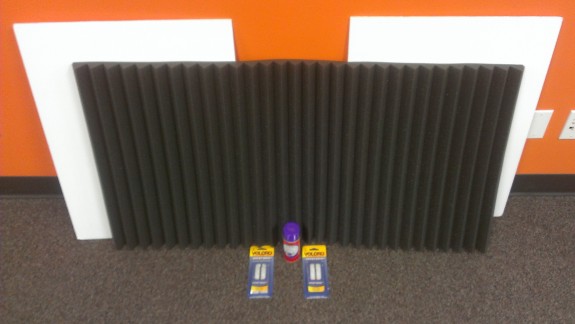
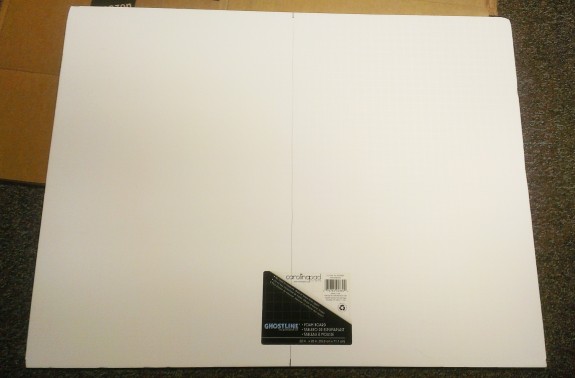
- Two foam core boards (22 in. x 28 in.)
- One can of Scotch Super 77 Multi-Purpose Spray Adhesive
- Self-adhesive Velcro strips (at least two packs)
- An Auralex 2” Studiofoam wedge 2’x’4’x2” panel
- Razor blade and a pair of scissors

How to Make a DIY Vocal Booth for eLearning Voice Overs
I’ll give a step by step instructions of how I put it all together, but feel free to vary the specifics to meet your needs.
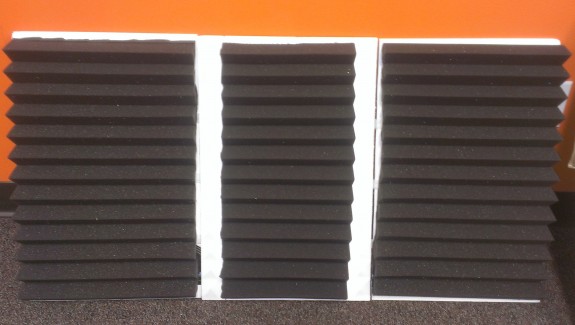
Step 1: Cut the foam core boards in half so that you have four (14” x 22”) panels.

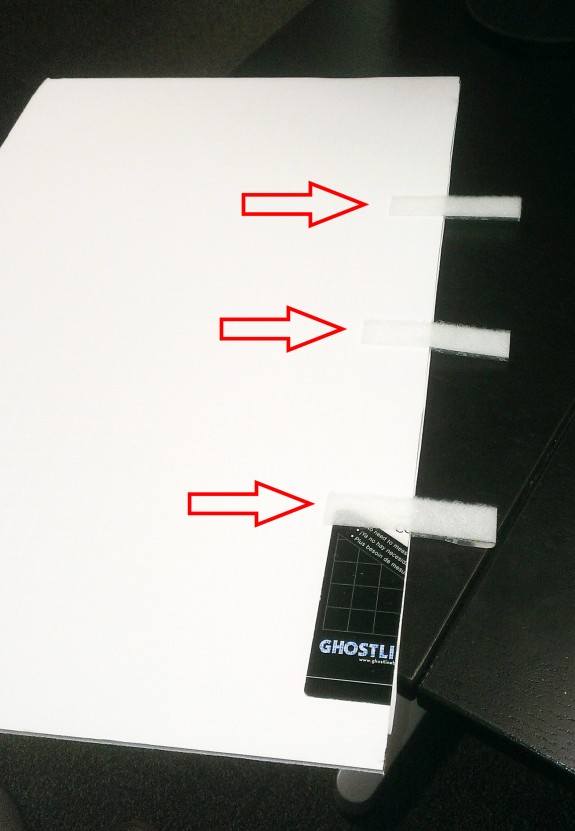
Step 2: Strategically place six Velcro strips on one of the foam core panels (which will soon become the middle).
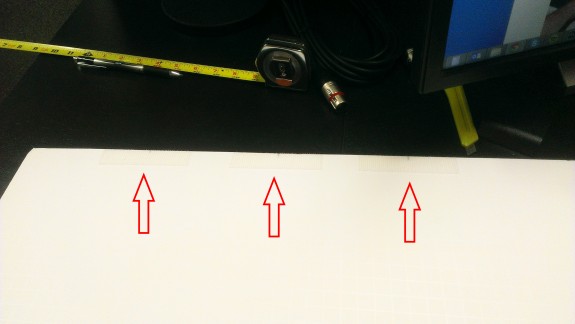
Step 3: Place three opposing Velcro strips on two of the foam core panels, perpendicular to the strips that you previously put on the other panel.
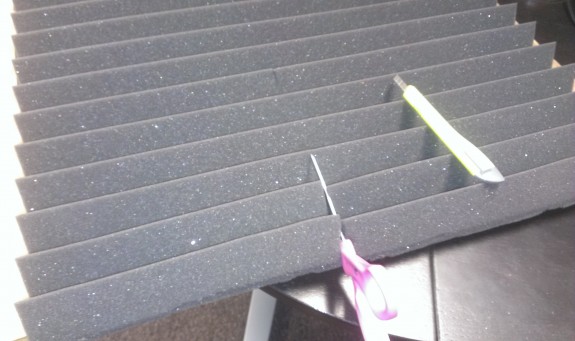
Step 4: Cut two pieces of studio foam to match the two outside panels (a little less than 14” X 22”). I first attempted to cut the studio foam with a razor blade and found that to be difficult, so I pulled out some scissors, and they worked much better.
Step 5: On the middle panel (on the opposite side of the Velcro, measure about two inches in on both sides and draw lines to help visualize where the studio foam will go on this panel. You want to leave about two inches on each side so that the studio foam from the other two panels will have no problem fitting when you Velcro them together.
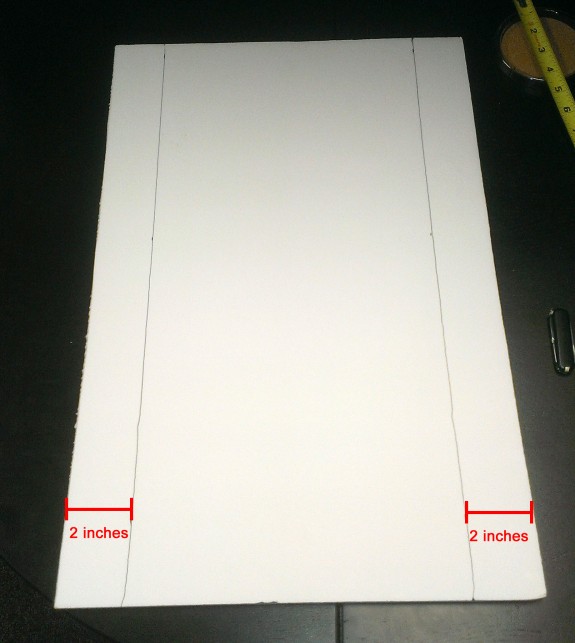
Step 6: Cut the studio foam out for the middle panel (about 10” x 22”).
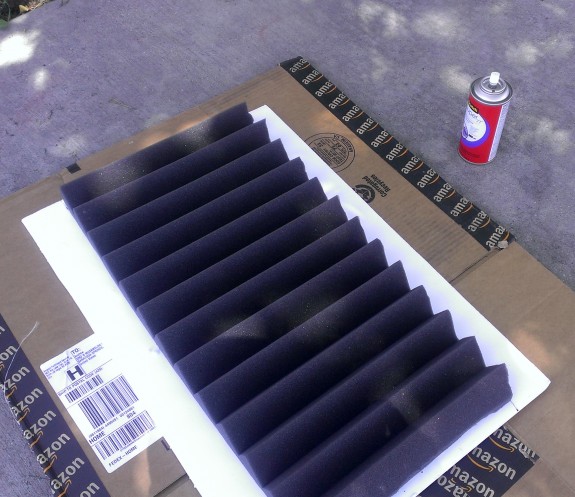
Step 7: Go outside or in a well-ventilated place and apply the spray adhesive on each panel and the back of the studio foam, one at a time. Be aware that this spray adhesive is extremely sticky and can easily get on your arms if there is a gust of wind.
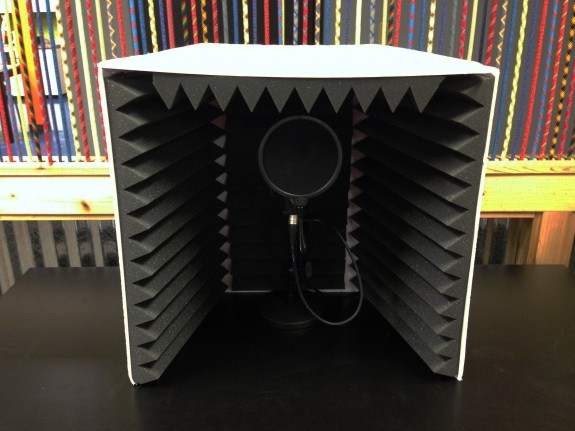
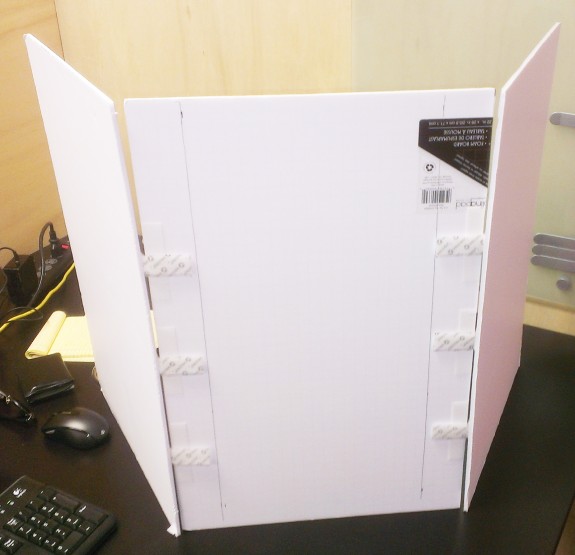
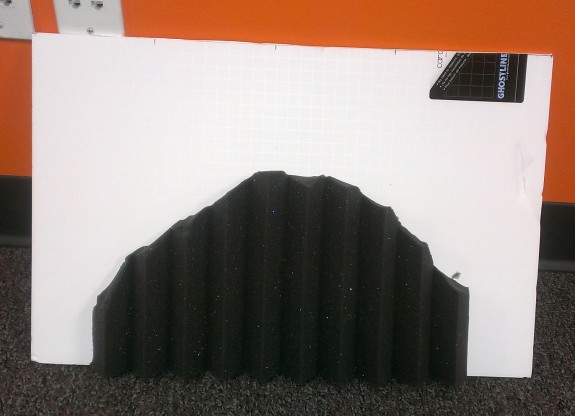
Step 8: Assemble the three panels with the Velcro, and then put the last panel on top to determine how to cut the last panel’s studio foam. This is what mine looked like (not the most exact cut, but it works).
Step 9: Apply spray adhesive to the top panel and matching studio foam. Then trim the panel to fit on top.
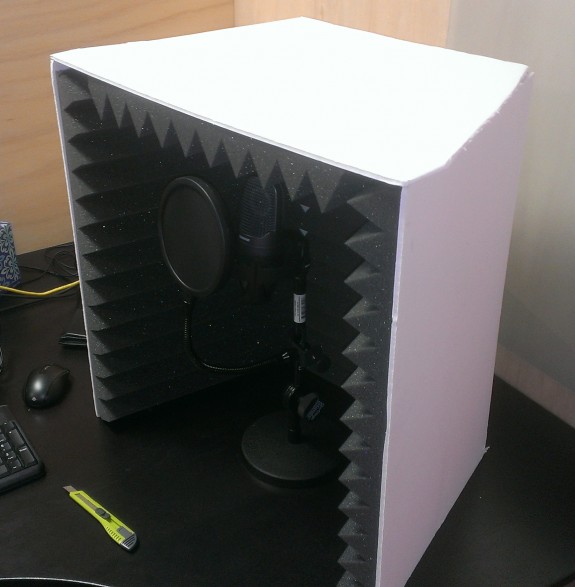
Now plug in your mic and try it out!
-----------------------------------------------------------------------------------------------------------------------------------------------
Have you tried using eLearning Game Templates to speed up your development time? We have eLearning templates for every authoring tool. Click the button below to get started.
eLearning Game Templates